Installation & Setup
Install Fleet, set up your first AI provider, and create your first agent in minutes.
System Requirements
- macOS 12.0 (Monterey) or later
- 8GB RAM minimum (16GB+ recommended for local models)
- 500MB disk space for Fleet
- Additional space for agent workspaces and conversations
Installation
Download Fleet
- Go to the Fleet download page
- Download the latest version for macOS
- Open the
.dmgfile - Drag Fleet.app to your Applications folder
- Launch Fleet from Applications (or Spotlight: Cmd+Space, type "Fleet")
Directory Structure
Fleet stores data in your Application Support folder:
~/Library/Application Support/com.usefamiliar.desktop/
├── agents/           # Agent definitions (AGENT.md files)
├── workspaces/       # Agent workspace files
├── conversations/    # Conversation history
├── skills/           # Installed skills
├── triggers/         # Trigger definitions
├── plans/            # Planning documents
├── config.yaml       # Global configuration
└── fleet.db          # Database
How Fleet Runs
Fleet is a menubar application. When you close the window, Fleet keeps running in your menu bar — your agents and automations stay active.
- Open the window — Click the menu bar icon → Select Open
- Quit Fleet — Click the menu bar icon → Select Quit
Sleep & Wake Behavior
When your Mac goes to sleep, automations pause. When it wakes:
- Poll triggers run immediately if their interval passed during sleep
- Scheduled tasks fire immediately if their time passed during sleep
- Daemon triggers resume automatically
Your automations catch up on missed work when your Mac wakes.
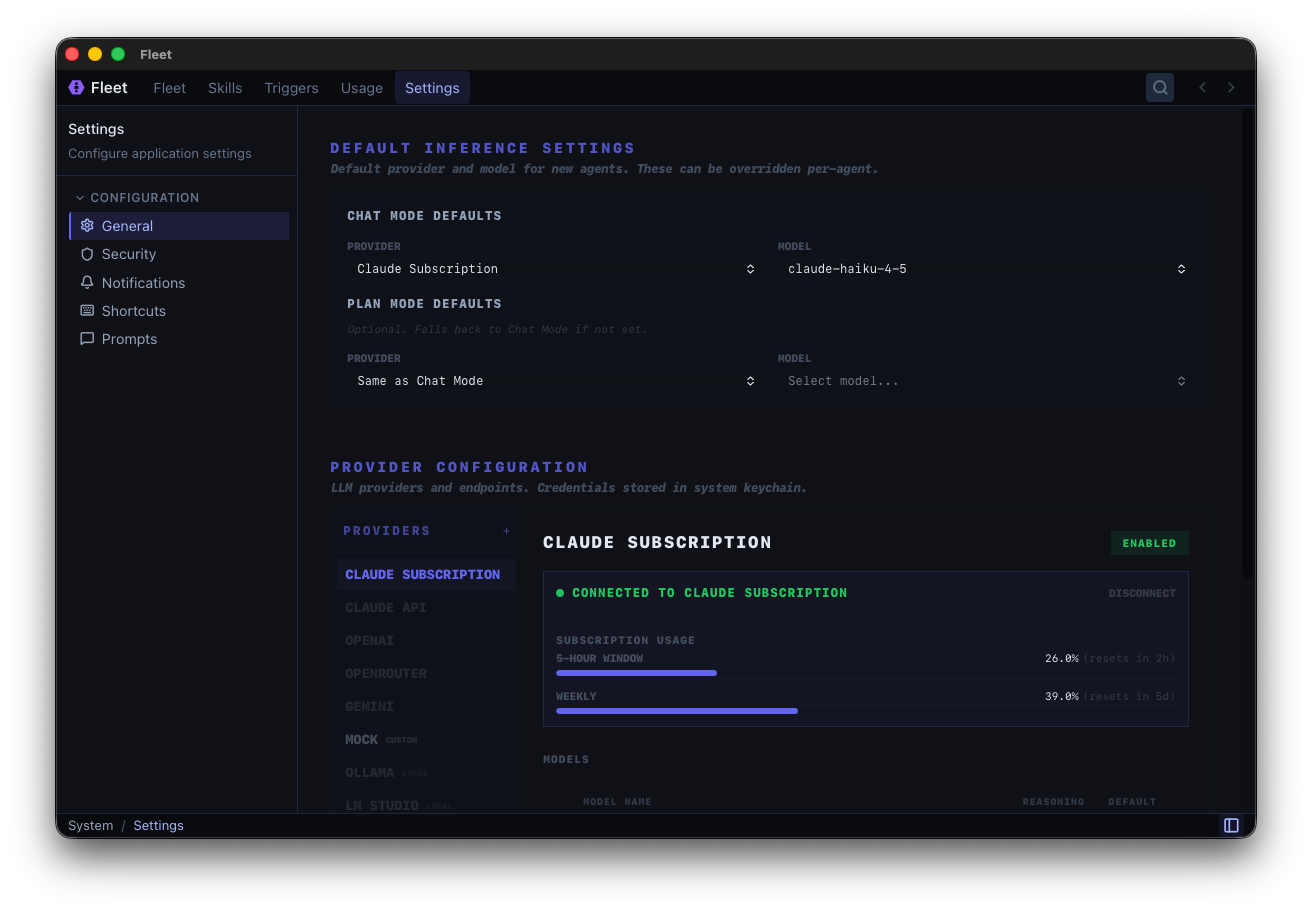
Set Up Your First AI Provider
Before creating agents, connect an AI provider.
GLM Coding Plan (Recommended)
The GLM Coding Plan from z.ai provides access to Claude and other top models, optimized for coding tools like Fleet, Claude Code, and Cline — starting at just $3/month:
- Subscribe at z.ai
- Get your API key from the dashboard
- Open Settings (Cmd+,)
- Go to General tab
- Click OpenRouter (GLM uses OpenRouter-compatible API)
- Enter your API key
- Toggle Enable
See AI Providers for other options.
Create Your First Agent
- Click New Agent (Cmd+N)
- Name it something simple like "Helper"
- Choose your provider (e.g., Claude API)
- Choose a model
- Click Create
- Start chatting
For a detailed walkthrough, see Your First Agent.
Next Steps
- Your First Agent — Detailed first agent tutorial
- Learn about agents — Understand agent configuration
- Build reusable skills — Create portable capabilities
- Automate with triggers — Set up automation